How I do my Eyebrows
On August 18, 2012, I will be holding a Basic Personal Makeup Workshop here in Baguio. Probably gonna be the first make up workshop here. (I am so hoping for it to be successful. =)) One of the basic topics I will be teaching will be about the brows. How to groom and shape. This will be a preview for what's in store in the workshop.
Basic Brow Shaping and Shading

Tools and Essentials: Any of these may be used to shade and blend brow colors. From the left, a flat angled brow brush from Fanny Serrano, blending brush cap from Fashion 21 Eyeliner Pencil and a spooly.

There are a wide range of eye brow products out there that you can choose from. There are brow kits and brow pencils available in the market. Here are some I have which I use for the brows. ELF brow kit in Medium, the Color Institute Brown eye pencil, and \i also use any brown, dark brown, taupe matte eye shadows to shade the brows. Use what you have. Expensive items are not necessary.


My brows were already groomed and plucked so sorry I can't show you how to shape them. However, the technique and methods used in shading/coloring is similar. First, get a pencil, or a brush and line it as shown in the photo. Align the brush vertically where you connect the nostril point and the inner tear ducts like so. (gosh, so hard to explain) Pls see the photo. The area where the brows are seen from where the pencil covered would where your brows start. This is one of the most common and basic method used by many. However, it is not always applicable. If your brows or eyes are wide apart or you have a broad forehead, this may not be applicable to you as it will emphasize it. This may be fine if the space/distance between your eyes is small or as if your brows are almost touching each other.

Next, line the brush connecting the edge of your nostril to the tip/end of your eyes as shown in the photo. This will mark where your brows should end.

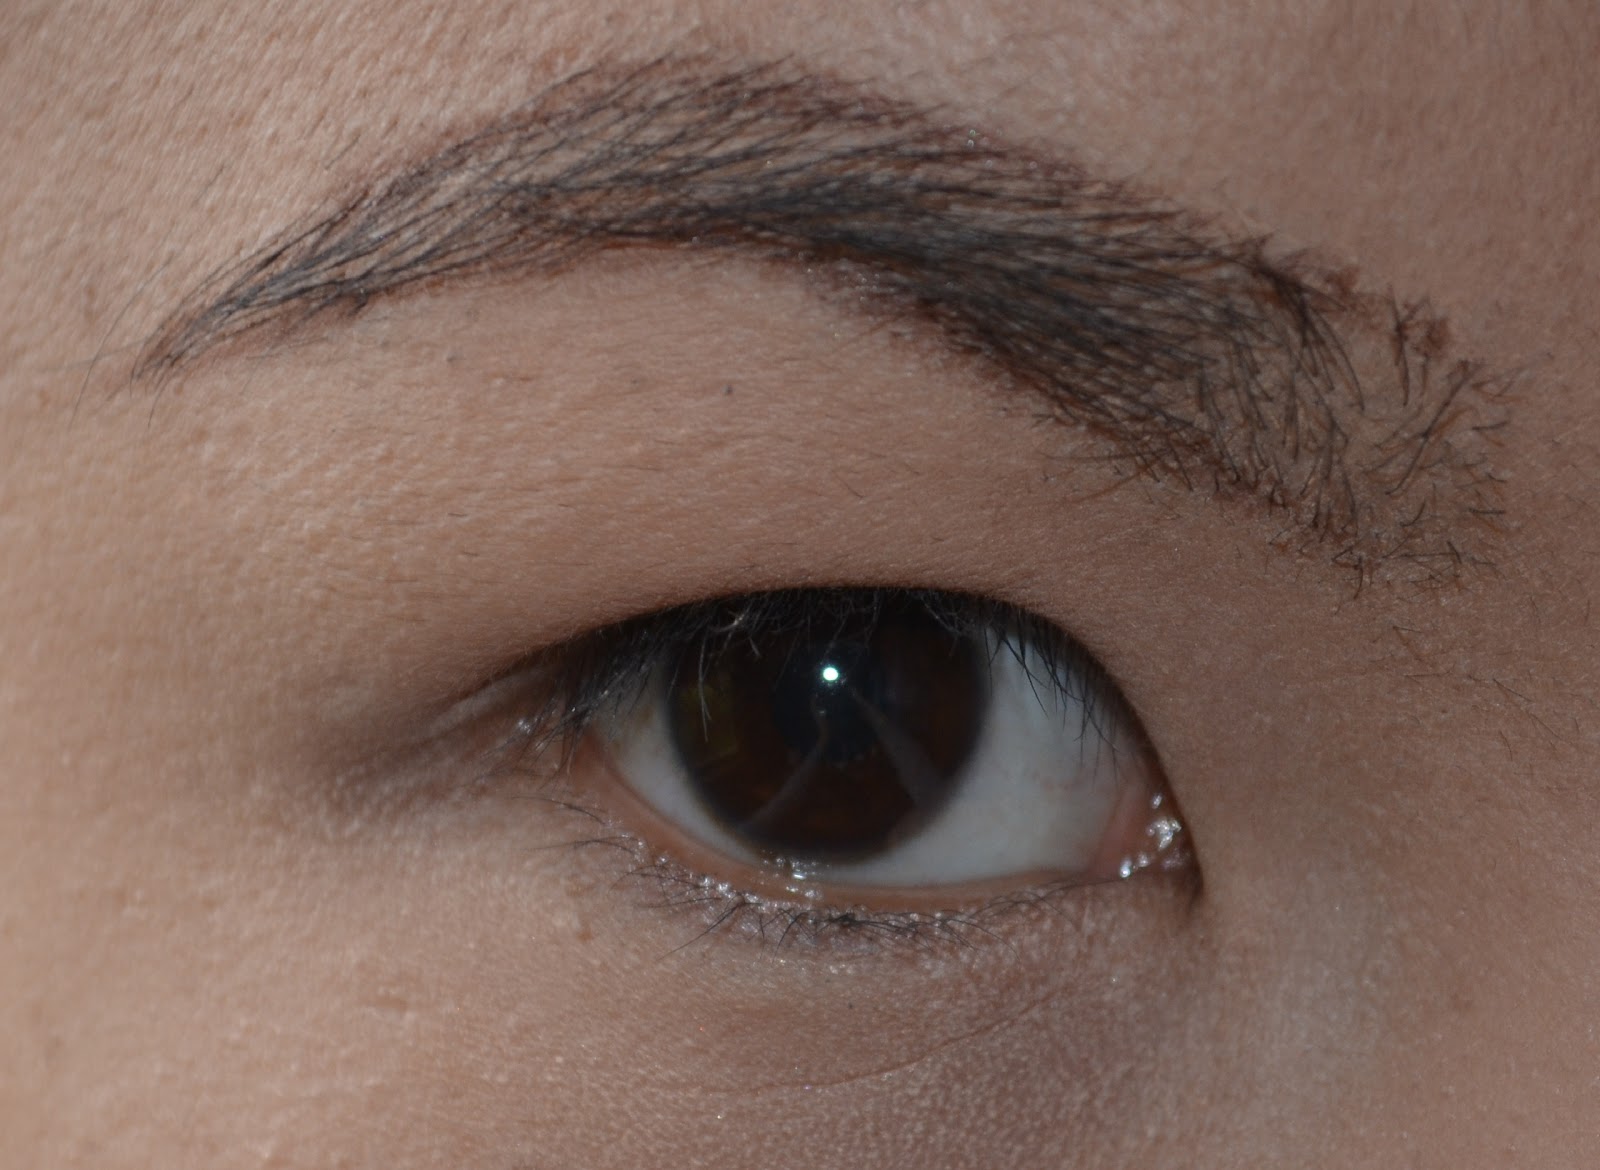
Lastly, look straight ahead and position your brush/guide pressing your nostril and right in front of your iris. This will indicate the arch of your brows.

Now we're done with the marks. Professional make up artists say use a shade or 2 lighter than your hair colour, but for me, I always use brown or dark brown shades whatever is close to my client's hair colour. Don't ever use black not unless your going for a fantasy or creative look. Black will make you look manly, hard and angry. In this demo, I will be using a brown pencil liner. TIP*** To make your brows appear cleaner and polished, and you want the shade to last langer like when you will be clubbing out and you know your going to sweat, try the wet technique. Dampen you flat angled brush and use it to apply your brow color. It makes it easier to apply and blend as well.

After your brows are plucked and groomed, they're now ready to be shaded. Using your brow pencil, or flat angled brush dipped in eye shadow, outline your brow in the shape you want it to be. I prefer mine to start thick and full and goes thinner and sharp as it reaches the end.
After outlining, lightly fill in the centre in short light strokes.

With your brush or spooly, blend out to soften the harsh lines and make it appear more natural.

Here's how it looks after blending. It appears, softer and blurry now.

This one is optional. You may not do this if your doing a quick daily make up. But if you prefer a well defined and polished brows especially if you will be attending an event or occasion, you may do this. Take your concealer and concealer brush.

Carefully apply the concealer on your brow bone just below the brows and on top of it like so.

Then blend out the concealer. This will help the edge and shape of the brows well defined.


Comparison. Left brow is done and the right one is not.

I hope this one has been helpful. If you have any tips, comments and suggestions, feel free to leave them below.
Stella


Comments
Post a Comment